
Ingredients
-
For the mochi wrappers (per colour):
-
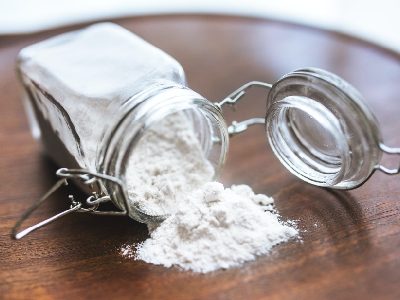
150g glutinous rice flour
-
270g water
-
60g caster sugar
-
your choice of natural food gel colouring(2-3 drops)
-
for dusting cornflour(approx. 100g)
-
For the filling:
-
1 pint (~475mL) of your favourite ice cream, softened slightly(from one of our ice cream recipes, or good-quality shop-bought)
Directions
Soft, chewy mochi wrapped around scoops of your favourite ice cream — customisable in any colour with a few drops of gel food colouring. Run the mochi cycle once per colour, back to back, to make a multicoloured platter.
Note: This recipe includes approximately 45 minutes of active time per batch, 2 hours of ice cream freezing, approximately 1 h 5 min of mochi machine cycle per colour, and 30 minutes of mochi cooling. Mochi sticks to everything — cornflour is your best friend. Dust liberally, dust your hands, dust your rolling pin, dust your work surface. Always dust off excess cornflour from the finished mochi with a pastry brush before serving. To make multiple colours, run the mochi cycle multiple times — one batch per colour. Each batch makes 8-10 mochi wrappers depending on the size of your ice cream balls. Gel food colouring gives the cleanest colours without adding moisture. The ice cream balls must be rock-solid frozen before wrapping in warm mochi, or the mochi will melt on contact.


Ingredients
For the mochi wrappers (per colour): |
|
| 150g glutinous rice flour | |
| 270g water | |
| 60g caster sugar | |
| your choice of natural food gel colouring | |
| for dusting cornflour | |
For the filling: |
|
| 1 pint (~475mL) of your favourite ice cream, softened slightly | |
Steps
|
1
|
Line a small tray with parchment paper and place in the freezer to chill. |
|
2
|
Using a 1½-tablespoon cookie scoop, scoop balls of ice cream onto the chilled tray. Work quickly so the ice cream doesn't melt. Return the tray to the freezer immediately and freeze for at least 2 hours, until rock-solid. |
|
3
|
Prepare the mochi batter: in a bowl, whisk together the glutinous rice flour and caster sugar. If using gel colouring, whisk the water into the flour-sugar mixture, then add 2-3 drops of gel colour and whisk until evenly coloured. If using matcha, first whisk the matcha powder with 30 g boiling water until lump-free, then add the remaining 240 g cold water and whisk into the flour-sugar mixture until smooth. |
|
4
|
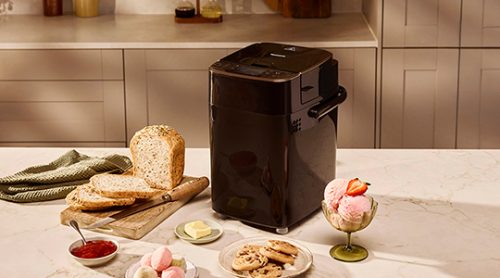
Fit the mochi/noodle blade into the bread pan and pour in the mixture. |
|
5
|
Select Menu 31 (Mochi) and press Start. |
|
6
|
After 50 minutes, the machine will beep. Open the lid and immediately press Start again to begin the kneading/pounding phase. |
|
7
|
When the machine beeps at completion, remove the bread pan and let it sit until cool enough to handle. |
|
8
|
Prepare your work surface: tape a large sheet of parchment paper down to your work surface with masking tape. Dust the parchment liberally with cornflour. Dust your hands and a rolling pin heavily with cornflour. |
|
9
|
Using a wet spatula, turn the mochi out onto the cornflour-dusted parchment. Dust the top of the mochi liberally with more cornflour. |
|
10
|
Roll the mochi out with the cornfloured rolling pin to about 2 mm thick, dusting with more cornflour as needed to prevent sticking. Work quickly while the mochi is still warm and pliable. |
|
11
|
Untape the parchment and slide the whole sheet (parchment and mochi) onto a baking tray. Refrigerate for 30 minutes to set and cool. |
|
12
|
Choose a round cutter suitably sized to fully wrap around your ice cream balls (about 9-10 cm diameter). Test the cutter against one ice cream ball first to confirm fit and resize if needed. |
|
13
|
Cut circles from the mochi sheet. |
|
14
|
Use a pastry brush to dust off any excess cornflour from each mochi circle. |
|
15
|
Working one at a time (keep remaining ice cream balls in the freezer between wraps): place a square of cling wrap in the palm of your hand, then place a mochi circle on top. Place a frozen ice cream ball in the centre of the mochi. |
|
16
|
Working quickly, bring the corners of the mochi up and around the ice cream, pinching them together at the top to seal. Bring the cling wrap corners up around everything and twist tightly to shape the mochi into a smooth, round ball with the seam hidden underneath. |
|
17
|
Immediately transfer the wrapped mochi to a freezer-safe container and return to the freezer. |
|
18
|
Repeat with the remaining mochi and ice cream balls. |
|
19
|
Freeze wrapped mochi for at least 1 hour to firm up. Serve straight from the freezer, or let sit at room temperature for 2-3 minutes before eating for the ideal soft-chewy-creamy bite. |
|
20
|
To make additional colours, repeat the mochi batter and shaping process with a different colouring. |

 Loading...